|
Welcome to our guide on mastering bank deposits in QuickBooks Online! If you've ever felt overwhelmed by recording bank deposits or struggled with transferring funds in QuickBooks, you're in the right place. In this comprehensive tutorial, we'll walk you through the entire process step-by-step, addressing common pain-points and providing solutions along the way.
Understanding Undeposited Funds
Accessing Chart of Accounts
Transferring Funds from Undeposited Funds
Moving funds from undeposited funds to your bank account is a critical step in the process. We'll guide you through this process, ensuring you can accurately transfer balances and match your actual bank deposit.
Recording Bank Deposits
Reviewing Transactions and Confirming Deposit
Ensuring Accuracy and Completing the Process
Conclusion and Next Steps
Congratulations! You've successfully mastered bank deposits in QuickBooks Online. Now, it's time to put your newfound skills into practice. Stay tuned for more tutorials and guides to enhance your financial management journey.
0 Comments
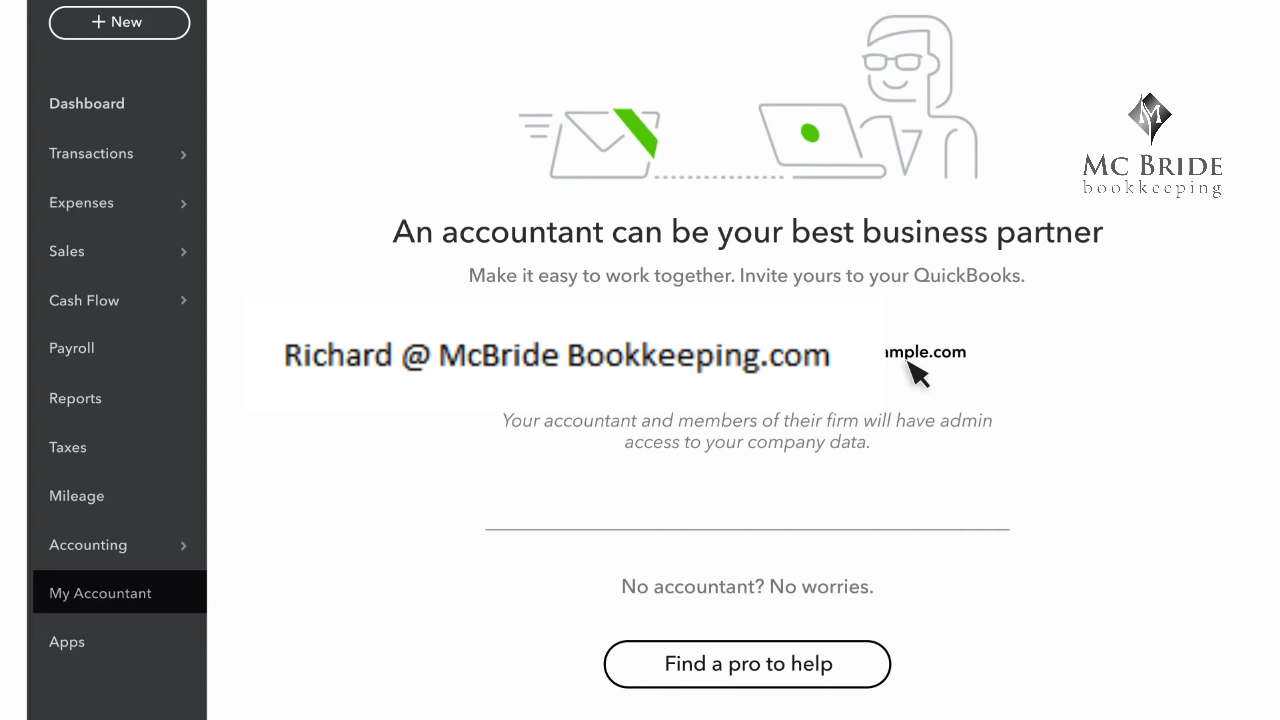
QuickBooks Online simplifies collaboration with your accountant, allowing seamless access to your company file for review and assistance. This guide walks you through the process of inviting your accountant and finding the right professional for your needs.
Inviting Your Accountant to collaborate in Quickbooks online
Confirmation Process Once the invitation is sent
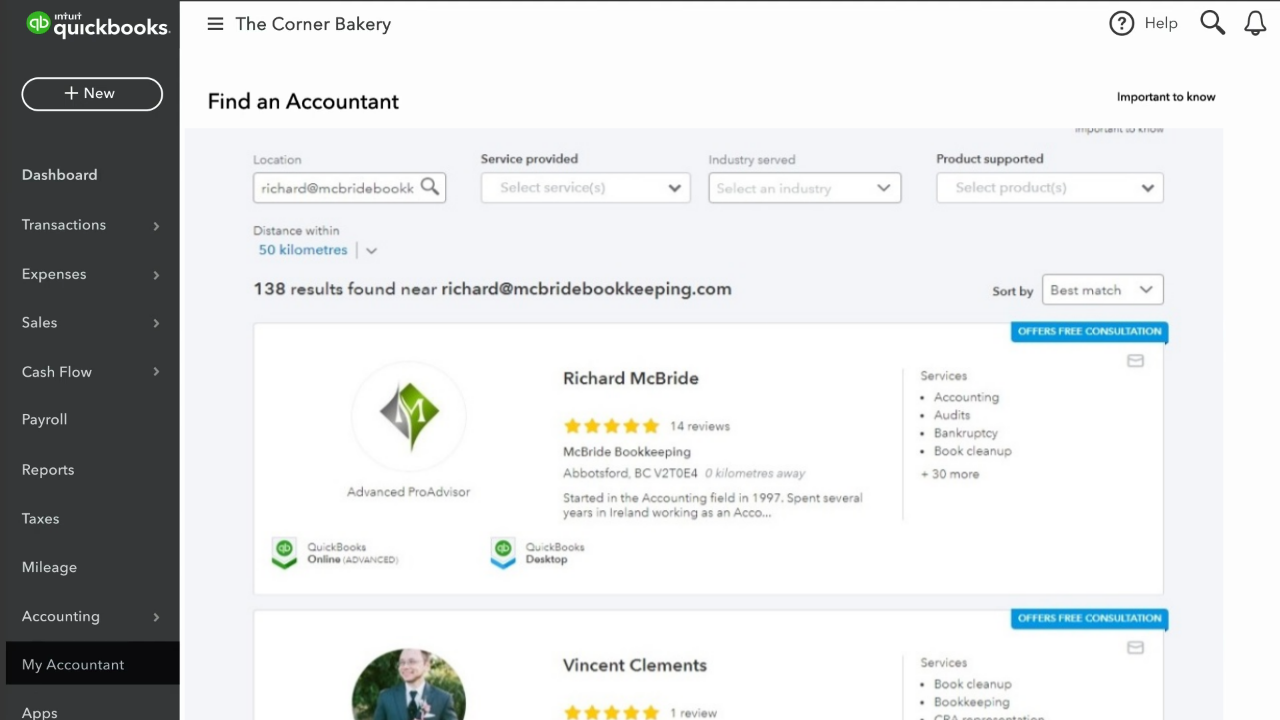
Finding a Local Professional (ProAdvisor) in QBO
Collaborating with your accountant in QuickBooks Online streamlines financial management and ensures accurate and efficient bookkeeping. Follow these steps to invite your accountant and find the perfect professional for your business needs.
Conclusion
Key talking points and problems solved by the guide:
In this tutorial, we'll explore the recent changes QuickBooks has made to connect bank accounts within its interface. The walkthrough focuses on reconnecting a credit card, using an RBC Visa as an example (works with TD, Scotiabank, BMO and all Canadian Banks). From entering card details to navigating date ranges and account types, we'll cover each step to ensure a seamless connection. Stay tuned for an insightful guide on managing your finances efficiently in QuickBooks. QuickBooks users, rejoice! The process of connecting and managing bank accounts has evolved, and we're here to guide you through the updated interface. In this comprehensive tutorial, we'll specifically focus on reconnecting a credit card, using an RBC Visa as our example. Follow these detailed steps to ensure a smooth and efficient connection to track your financial transactions seamlessly. Introduction QuickBooks recently introduced changes to how bank accounts are connected directly within the interface. Today, we'll delve into the intricacies of this process, providing a step-by-step walkthrough for users navigating the new system. Step 1: Initiate the ConnectionWhen you access the "Link Bank Account" feature, you'll notice similarities with the previous interface. For our illustration, we'll be connecting an RBC Visa card. Enter your card details as usual and click "Continue" to proceed. Step 2: Navigate Security MeasuresAfter clicking "Continue," you might encounter two-factor authentication. Whether it's through text messages or another method, navigate through these security measures to move forward. Step 3: Select Accounts and Date RangeUpon successful authentication, choose the accounts you wish to connect. Depending on your login, QuickBooks will display the accounts it detects. Ensure you select the appropriate date range for your transactions. Step 4: Handle Date Format QuirksBe cautious with the date format. If you encounter an "invalid date" error, check your computer's date format. QuickBooks may expect a different format, so adjust it accordingly for a seamless experience. Step 5: Account Type ConfirmationQuickBooks might inquire about the account type. If you're reconnecting an existing card, choose the relevant option. Ensure your account type in QuickBooks matches the expected type to avoid confusion. ConclusionCongratulations! You've successfully connected and downloaded transactions in QuickBooks. Enjoy the convenience of categorizing your finances effortlessly. Head back to your main banking screen and witness the newfound connection, ready to streamline your financial management tasks. If you found this tutorial helpful, share the knowledge, and feel free to reach out with any questions.
QuickBooks offers basic products and services, but customizing your setup provides more accurate reports and time-saving benefits. Before recording any sales, it's essential to configure the products and services you offer. In this guide, we'll walk you through the process, empowering you to streamline your financial management efficiently.
Introduction
Before you embark on recording sales in QuickBooks, it's crucial to establish a robust foundation by configuring the products and services you provide. This guide will take you through the entire setup process, offering insights and tips for efficient financial management. Step 1: Access Products and Services
To get started, navigate to the "Sales" tab, then select "Products and Services," and click on "New."
Step 2: Choose Product or Service Type
Select the type of product or service you want to enter. QuickBooks distinguishes between non-inventory products, inventory products, and services.
Step 3: Product/Service Details
Provide specific details such as stock-keeping units (SKU), grouping into categories, and attaching pictures for visual reference.
Step 4: Description and Sales Price
Enter a description of the product or service, which will appear on invoices or receipts. Set the sales price or rate, saving you time by recording your default pricing.
Step 5: Income Account and Sales Tax
Specify the income account for categorizing sales income related to the service. Choose whether or not to charge sales tax for the product or service.
Step 6: Save and Close
Once all details are entered, select "Save and Close" to complete the setup.
Congratulations! You've successfully set up a product or service in QuickBooks. Repeat these steps for each offering in your business. Efficient setup ensures accurate financial tracking and reporting.
If you found this tutorial helpful, share the knowledge, and feel free to reach out with any questions.
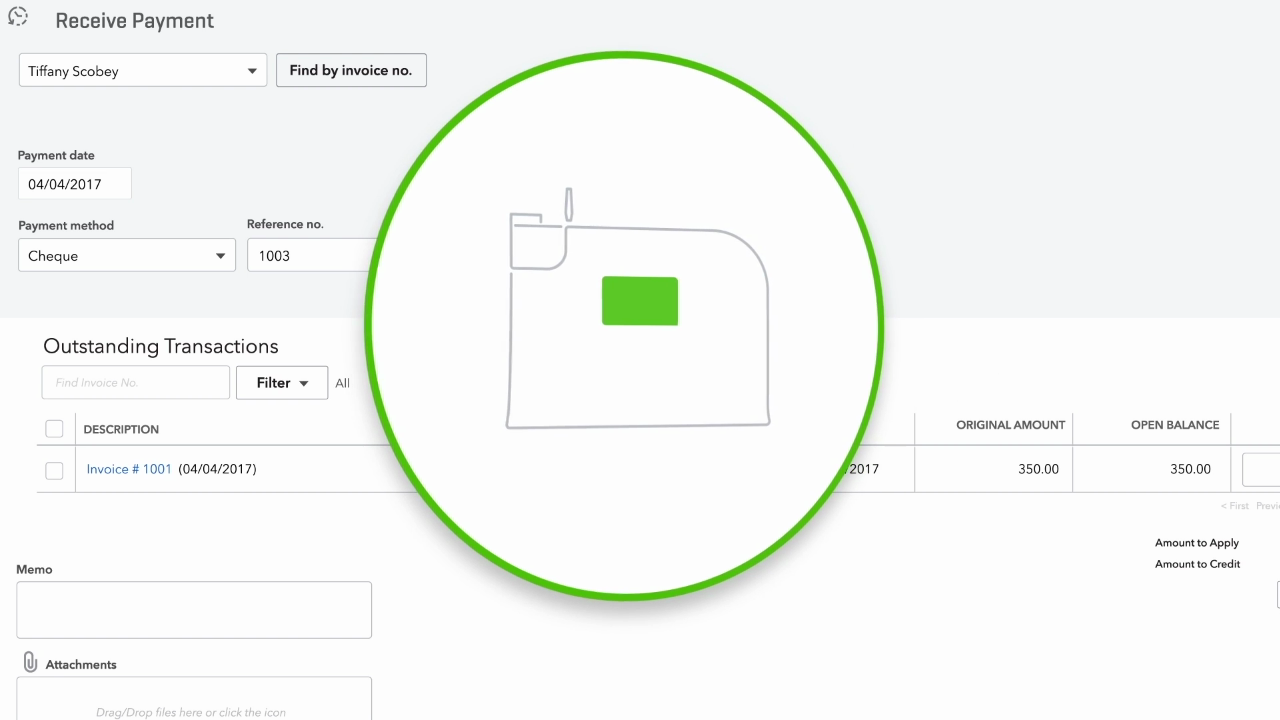
So, you've invoiced your customers and now it's time to collect payments for sales in QuickBooks. Let's walk through the process step by step to keep your Accounts receivable (AR) up to date and accurate.
Receiving Payments
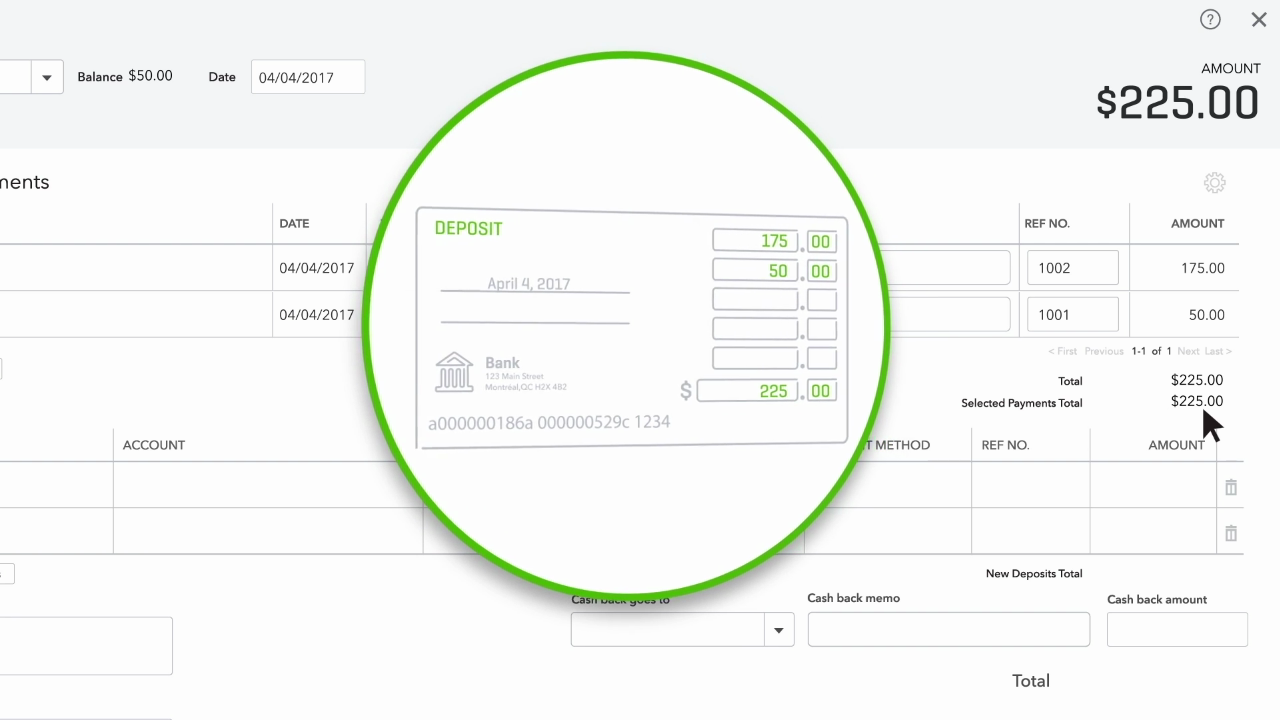
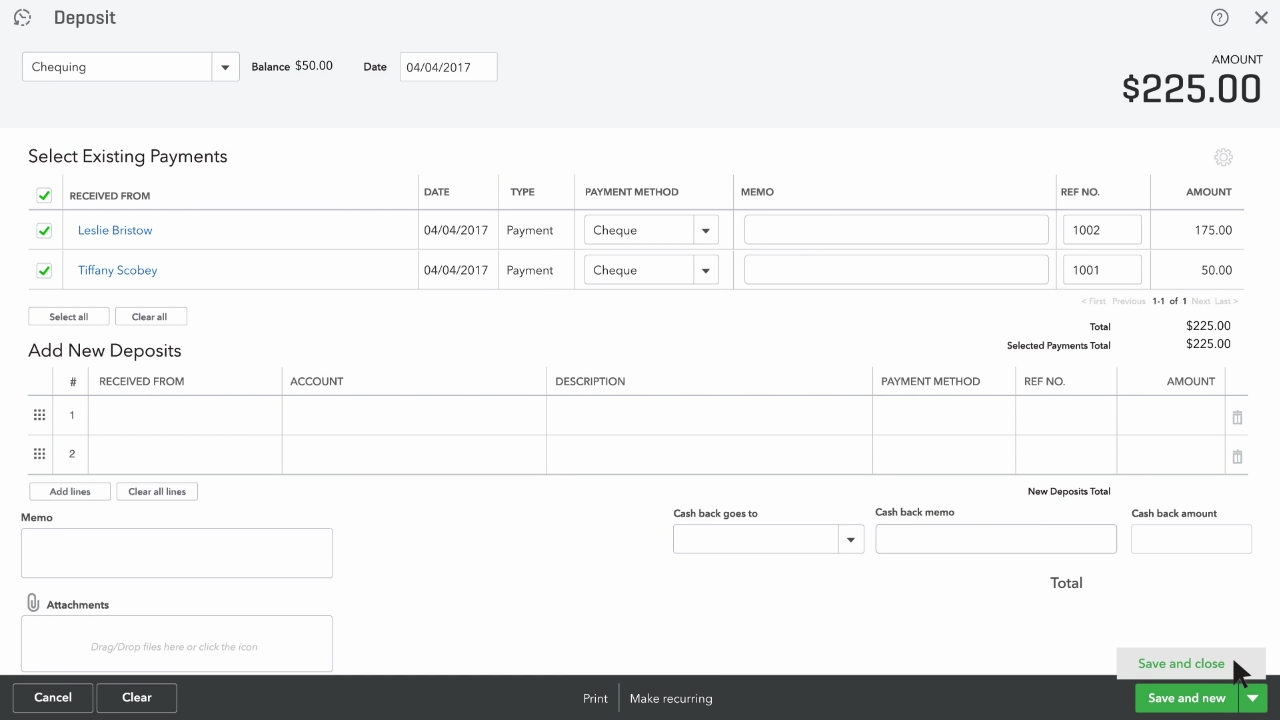
Handling DepositsRecording Deposits
Conclusion
Now you're ready to efficiently manage your payments in QuickBooks. Try receiving a recent payment from a customer to put these steps into practice.
key talking points and problems solved by this guide:
|





 RSS Feed


